Drag and Drop Sprites in SpriteKit
In this tutorial, you will learn how to drag and drop sprites in Apple’s SpriteKit framework using the Swift programming language.
Getting Started
To get started, set up a new Playground in Xcode. A playground is perfect for this project because it will allow you to quickly see the visual result of changes in the code, while using the same concepts as a full project would use.
In Xcode, go to File > New > Playground. Choose iOS at the top of the dialog box that appears, then select Game and click Next. Choose a location to save your Playground, and give it a name like DragAndDrop. Click Create and your Playground should appear.
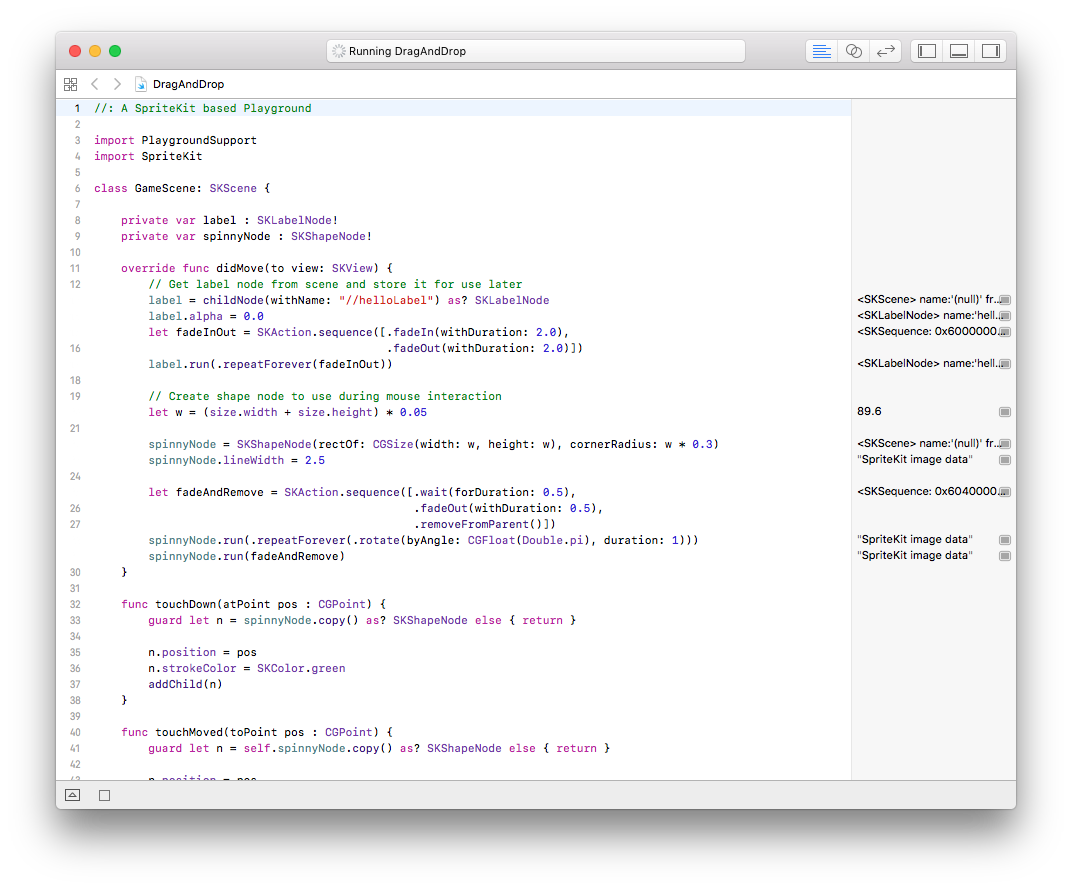
The iOS Game template comes with some initial starter code. Since you will be writing most of your own code, you can start deleting it.
Delete everything inside of the didMove(to:) method. You can also delete the label and spinnyNode fields directly above. Next, delete the touchDown(atPoint:), touchMoved(toPoint:) and touchUp(atPoint:) methods. Delete the code inside touchesMoved(_:with:), touchesEnded(_:with:) and touchesCancelled(_:with:), but don’t delete these method headers. Finally, delete update(_:) at the bottom of the GameScene class.
You should be left with four methods inside the GameScene class and some setup code that loads the initial scene.
Live Preview
Next, take advantage of Playgrounds to get a live view of your game. Click the “Assistant editor” button in the top right of your screen to split your view in two.
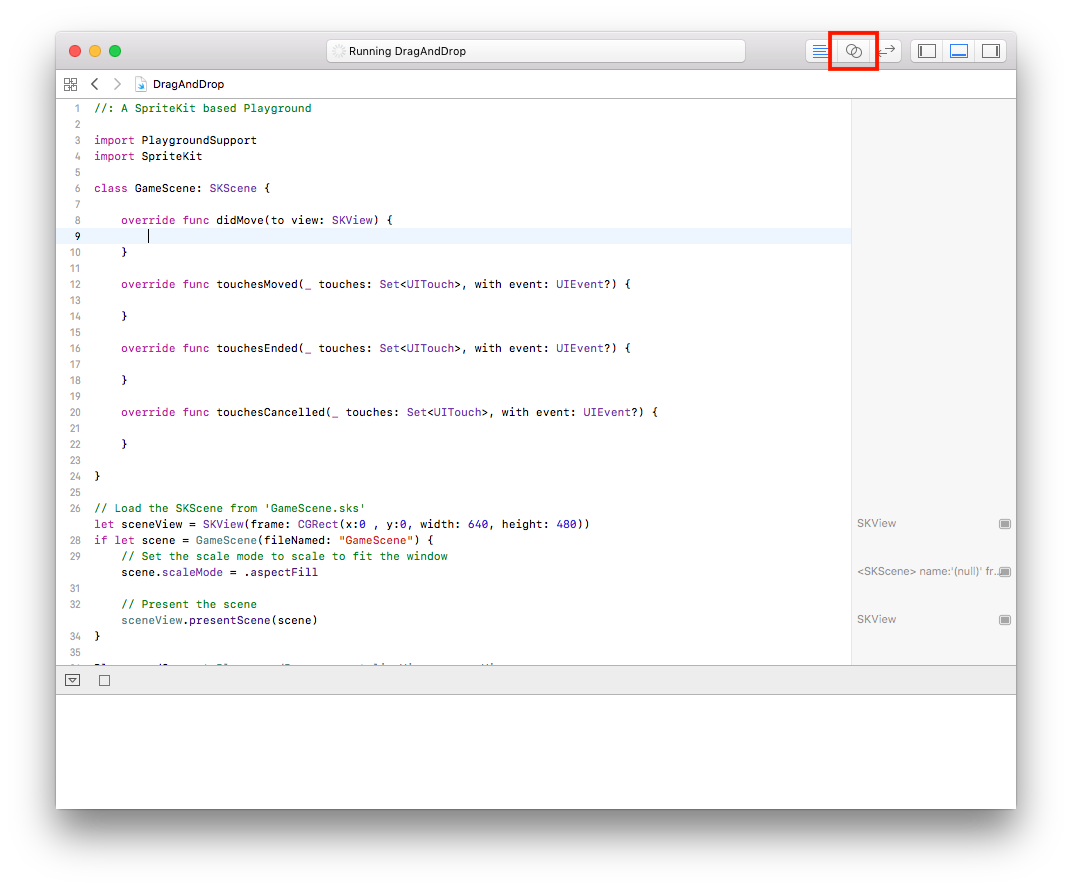
After a short delay, you should see the editor split in half and a view on the right appear with the text “Hello, World!”.
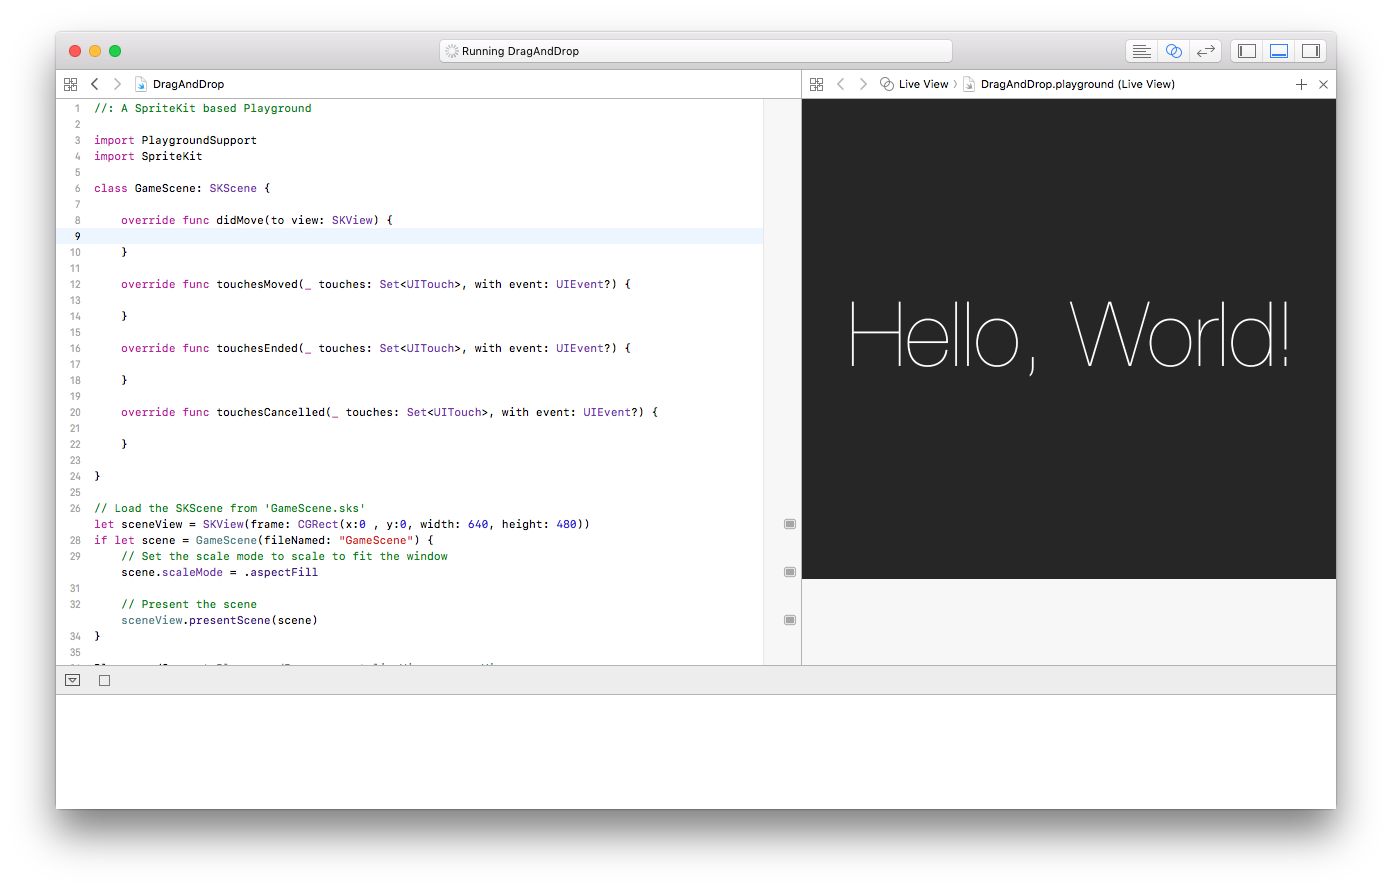
This is the live view of your game. The current “Hello, World!” text comes from the default scene stored in GameScene.sks.
Optional: Remove Text
The “Hello, World!” text in the middle of the scene doesn’t make sense in the current context of the game. This section covers removing the text. Feel free to skip to the next section below if you don’t care about removing the text.
To remove the text, you will need to edit GameScene.sks. First, switch back to the standard editor by clicking the “Standard editor” button in the top right of your screen (to the left of the “Assistant editor” button).
Switch to the file GameScene.sks by clicking DragAndDrop in the editor selector bar at the top of your screen and selecting DragAndDrop > Resources > GameScene.sks.
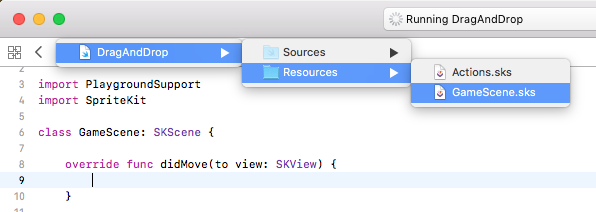
The scene editor should appear.
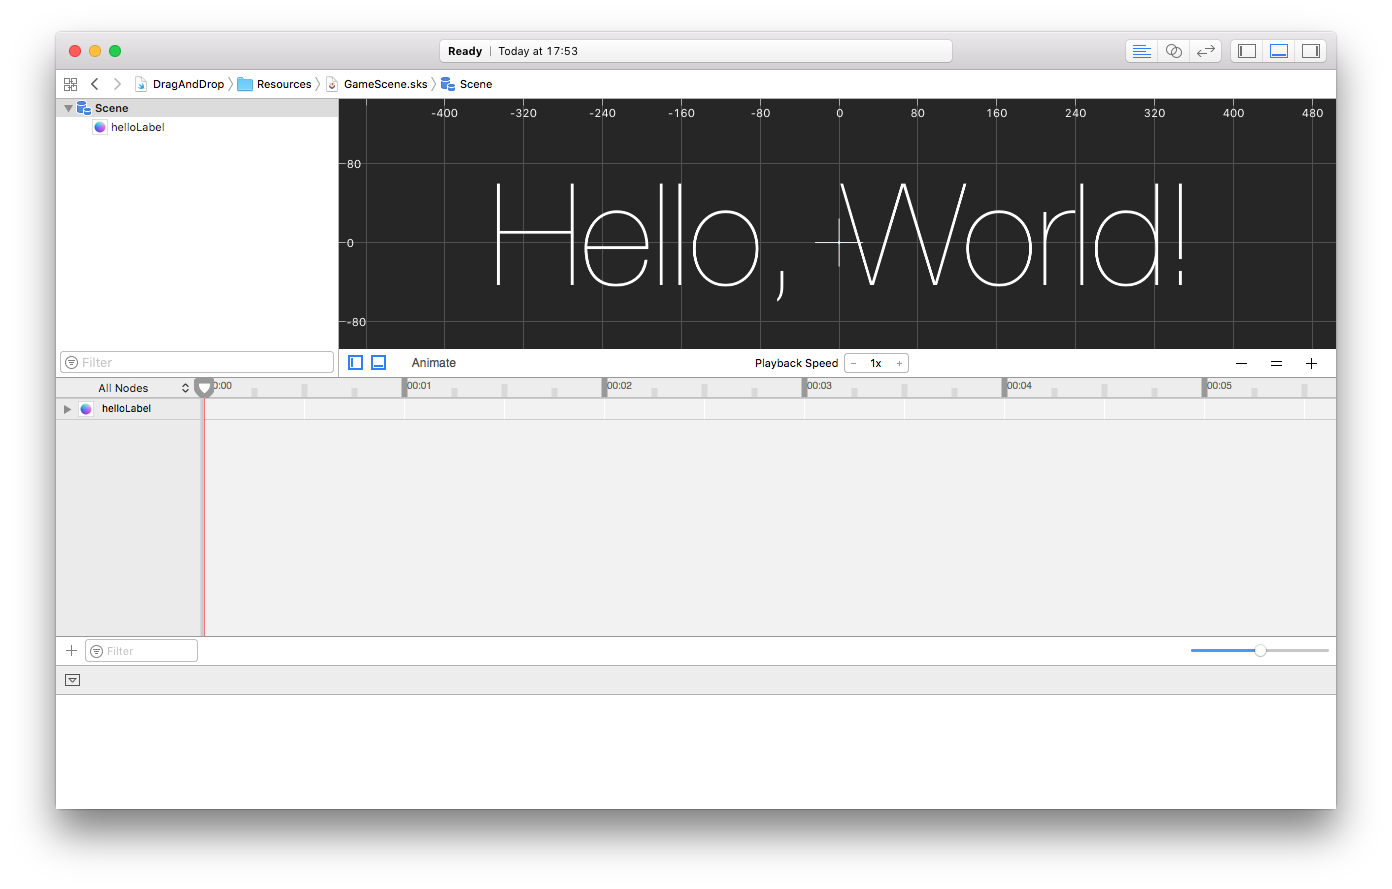
Currently, GameScene.sks has a single node - a label that contains the text “Hello, World!”. Delete this node by selecting it in the scene editor and pressing the delete key.
Next, switch back to your source code file by selecting DragAndDrop in the editor selector bar, then selecting DragAndDrop from the menu that appears. Open the assistant editor and observe that the text is now gone from the scene.
Add a Sprite
To be able to drag and drop a sprite, you need to add a sprite to your scene. Add the following code to didMove(to:):
let node = SKSpriteNode(
    color: .red,
    size: CGSize(width: 50, height: 50)
)
node.name = "draggable"
self.addChild(node)
The first declaration creates a new SKSpriteNode with a width and height of 50 points and a background color of red. The second line sets the name of the node, and the third line adds it to the scene.
The right pane of your Playground should update as the code is automatically run. You should see a red square in the middle of the screen, representing the sprite you just added.
![]()
Dragging the Sprite
Setting the State
UIKit provides a set of methods your class can implement to receive notifications when different events occur. One of these methods, touchesBegan(_:with:), will be called when a player first touches the screen. Add this method skeleton below didMove(to:):
override func touchesBegan(_ touches: Set<UITouch>, with event: UIEvent?) {
    // Initialize drag here.
}
The first parameter, touches, contains information about each touch event that occurred. event gives information about the type of interaction.
In order to be notified of finger movement, you must override touchesMoved(_:with:). Since this is a separate method, you need a field to keep track of the current node being moved.
Above didMove(to:), add a field to store the current moving node:
private var currentNode: SKNode?
This declares a private optional field of type SKNode. In other words, nil is a valid value for this field.
Back in touchesBegan(_:with:), replace the comment with the following code:
if let touch = touches.first {
    let location = touch.location(in: self)

    let touchedNodes = self.nodes(at: location)
    for node in touchedNodes.reversed() {
        if node.name == "draggable" {
            self.currentNode = node
        }
    }
}
On the first line you grab the first touch in the set of touches and check to make sure it isn’t nil. The second line stores the current (x, y) coordinates of the touch. Next, you call the nodes(at:) method to get an array of all nodes at the touch location. Finally, you loop over each node at the touch location and store the first one with the name “draggable” in your field. The nodes are looked at in reverse order as a primitive way to select nodes that appear on top “first”.
Moving the Sprite
Now that your class stores a sprite that is touched, the next step is to actually move it on drag.
Your GameScene class should already have the touchesMoved(_:with:) method skeleton. Populate it with the following code:
if let touch = touches.first, let node = self.currentNode {
    let touchLocation = touch.location(in: self)
    node.position = touchLocation
}
First, you get the first touch and check that a draggable node has been selected. Then, you get the location of the touch in the view, and set the nodes position to it. touchesMoved(_:with:) is called each time iOS wants to notify you of a new movement event, so your nodes position will end up being updated many times per second as a drag occurs.
With this, your code should automatically compile and run, and the live view in the assistant editor should refresh. Try dragging the red square around. It should follow your mouse!
Finishing Touches
You’re not quite done! It’s important to ensure the final state of your class is consistent with the initial state. When a drag ends, you still want to “drop” the sprite. In both touchesEnded(_:with:) and touchesCancelled(_:with:), add the following line of code:
self.currentNode = nil
This ensures that when the user lifts their finger, the drag action completes. In reality, you would probably want to reset the position of the sprite in touchesCancelled(_:with:), but resetting the field is good enough for this tutorial. You could also add code in touchesEnded(_:with:) to “formalize” the drop, such as updating the state of your game to account for the sprites new position.
Two Sprites
Try adding the following code below your current code in didMove(to:):
let blueNode = SKSpriteNode(
    color: .blue,
    size: CGSize(width: 50, height: 50)
)
blueNode.name = "draggable"
self.addChild(blueNode)
Now, you can drag two sprites around in the live preview of your game.
Next Steps
Download the Playground to play around with the final version of the code in this tutorial.